Tuesday, January 29, 2013

Pumpkin Rice Cakes 南瓜饼


     My family has had this huge pumpkin sitting in our garage forever.  I mean since Halloween.  Yeah, I think that it was because nobody felt like cutting the huge thing.  Well, I instantly knew what I wanted to make with it: nan gua bing.  Pumpkins may be out of season, but this treat is perfect for Chinese New Year on February 10th and Japanese kobacha squash works great, too.
Biggest pumpkin I have ever seen

Steamer
Steam pumpkin until soft
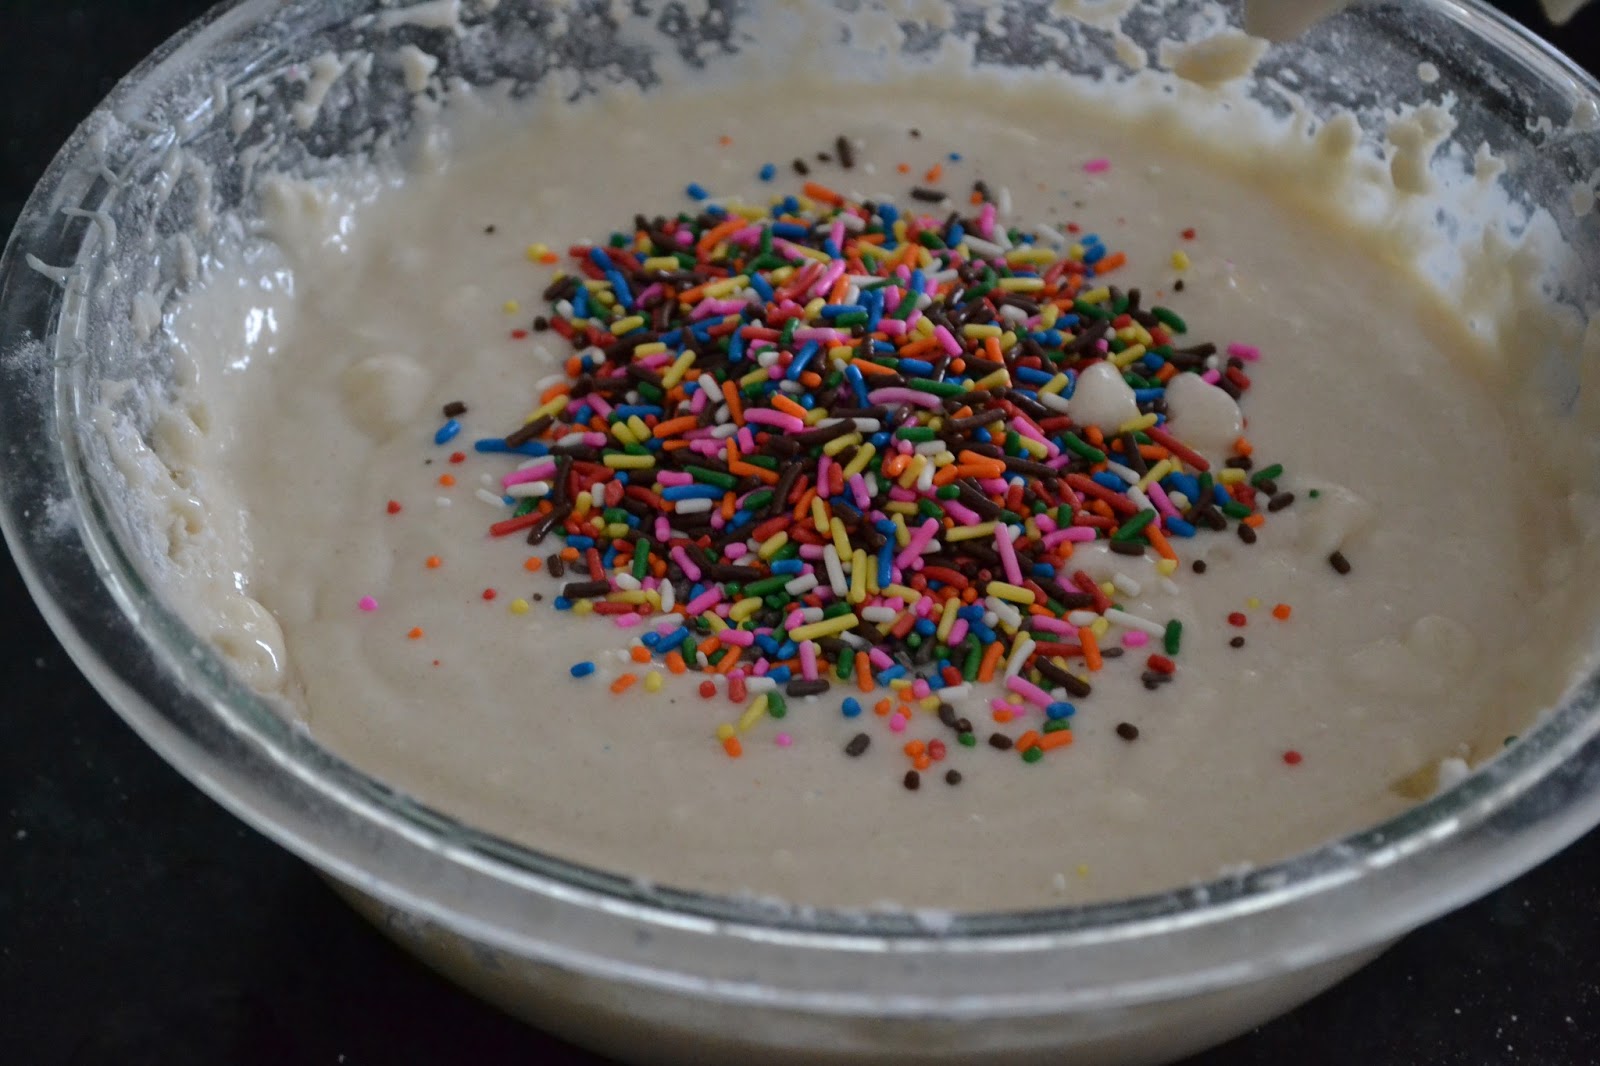
Knead the dough


Add the filling
Squarish shape. Fold up 4 separate flaps around the filling and press together.

Simple circle shape.  I was originally going to pan-fry the circle ones I made, but the  steamed ones turned out so good.

Triangle shape. Pull up 3 flaps around the filling and press together.  

Place in the steamer pan
Enjoy


    I didn't realize before, but this recipe is actually healthy.  Really, and it's not even meant to be.  It's made with whole wheat flour (or wheat starch) and steamed.  Plus, pumpkin is a vegetable and red beans are good for you!  Pan-frying them instead of steaming is another delicious alternative, though less healthy.

    I first can about this recipe from one of my mom's friends and my mom and I made it together.  It tasted great, however, the shape didn't hold.  I think that the wheat flour/starch helps and we didn't add water this time.

   You'll need glutinous rice flour (aka sweet rice flour) and red bean paste, which can be found at an Asian market or in the Asian isle in your grocery store. You'll also need a steamer and pumpkin/Japanese kobacha squash.

   Trust me.  These are delicious, and they don't taste like pumpkin at all.  You may also use different fillings beside red bean, and you can make your own homemade red bean paste which is great.

Enjoy!

Pumpkin Rice Cakes 南瓜饼

makes about 24

Ingredients

450g pumpkin or Japanese kobacha squash, cut into cubes
450g (3/4c) glutinous rice flour
150g (1c 2tbs) whole wheat flour or wheat starch
30-60g sugar (1/4c to 1/3c) sugar depending on how sweet you want it
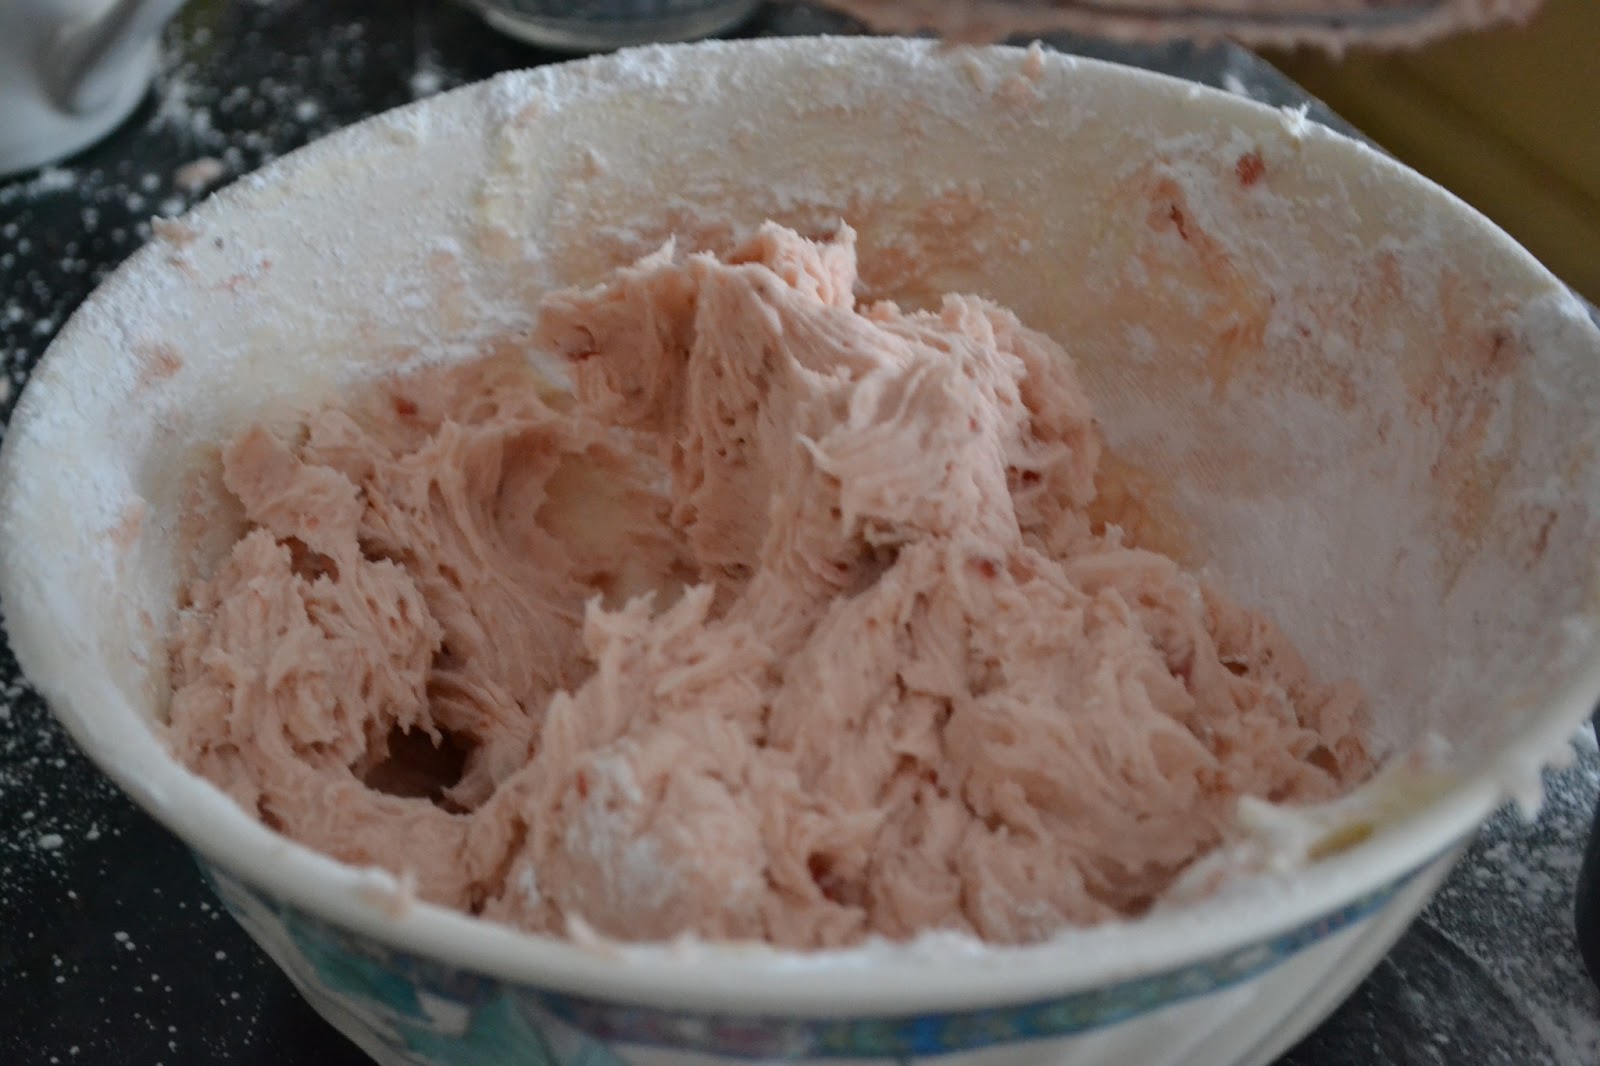
1 can sweetened red bean paste

Directions

  1. Steam the pumpkin in a steamer until soft, about 20 minutes
  2. Quickly add flours and sugar and mix with your hands until a dough forms.
  3. On a board dusted with glutinous rice flour, Knead the dough until smooth and a but stretchy, about 10 minutes.
  4. Take about a tbs of dough and flatten it into a circle with thinner edges. Place about a teaspoon of filling into the center and wrap the dough around it. Continue with the rest of the dough.
  5. Prepare a steamer.  Line a steamer pan with a damp towel.  Rub the bottoms of the cakes with a bit of glutinous rice flour and place in the pan.  Steam 8-9 minutes, until soft.
  6. Alternatively, heat some oil in a pan and fry on both sides a few minutes until brown ans crispy. 
  7. Serve immediately.  To store, wrap in plastic wrap and store at room temperature or refrigerate for 3 to 5 days. 


Saturday, January 26, 2013

Complete Team Umizoomi Cake


    I finally finished my brother's 4th birthday cake.  I can't believe this is my fourth post regarding it. Sorry for making you wait so long, but here it is! As I said, it has a Team Umizoomi theme, which is kids' show my brother likes.

Covering the cake with fondant:


Adding ribbon decorations and embellishments:


Finished Cake:


Aideng really liked it :)
Making his birthday cake was really fun.  It took a while, but I enjoyed it and the efforts really paid off.  Thanks for reading, and see you later!


Confetti Cake from Scratch with Strawberry Buttercream

Cake before being decorated with fondant
     Back in the days before I'd ever had a home-made from-scratch birthday cake, my favorite cake was the Funfetti cake I helped my mom make from the box mix.  As my taste for box mix faded, however, one thing remained: my absolute love for sprinkles.

   I love sprinkles.  They come in every shape, size, color, and even flavor.  When I go to the grocery store and the bakery section sets out a couple of tubs of sprinkles for a dollar, I immediately grab them. (Here's something you may not know: the bakery section in your grocery store will probably sell you some sprinkles for cheap if you ask. Also, you can make your own sprinkles or buy really fun shapes like dinosaur sprinkles online.) For the cake, regular rainbow jimmies work best because they stay in the batter better and their colors spread into little bubbles of joy.

   Yes, I have a weakness for sprinkles.  So for my brother's birthday cake, I wanted to give him something fun and colorful: Funfetti cake.  Only instead of using mix, I made it from scratch, which is a million times better, trust me.  It also lacks all those bad artificial flavors and preservatives. I adapted the recipe from a standard vanilla cake recipe, and I added sprinkles and a bit of almond extract. It turned out delicious.

    This was my favorite part: dumping all the sprinkles in.  I used all the rainbow jimmies I had, and I was debating whether or not to use all of them. I ended up dumping them all in.
YES

Prepared pan
    I really like how the buttercream turned out.  Smooth, creamy, and with a very nice strawberry flavor.  It's like strawberry ice cream that doesn't melt.  Also, it goes perfectly with the cake.
Strawberry Buttercream
Frosting the Cake

   This post is all about the inside cake.  If you want to see the finished, decorated cake, check the next post.
Here's the recipe, enjoy!

Confetti Cake from Scratch

Makes one 8" 2 layer cake
adapted from Sweetapolita

Ingredients

5 large egg whites (150g), room temperature
1c whole milk (237 ml), room temperature
2 tsp pure vanilla extract
1/4 tsp almond extract
3 cups (345 g) cake flour, sifted
1 3/4 cups (350 g) sugar
1 tbs + 1 tsp baking powder
3/4 tsp salt
12 tablespoons (1 1/2 sticks, 170g) unsalted butter, cut into cubes and at room temperature
Rainbow Jimmies (I used 1 1/2 small bottles, 175g or 2.6oz.)

Directions

  1. Preheat the oven to 350*F and grease two 8" pans with butter and dust with flour.  Then add a circle of parchment paper to the bottom and butter and flour that.  Tap out excess flour.
  2. In a large bowl, add sifted flour, sugar, baking powder, and salt.  Whisk or mix with a mixer on low until well combined and fluffy.
  3. In a small bowl, mix egg whites with extracts and 1/4 cup of the milk.
  4. Add cubed butter and remaining 3/4 cups milk to the dry ingredients. Mix until moistened. With a mixer on medium speed, mix for about 1.5 minutes.
  5. Scraping the bowl, add the egg mixture in 3 batches. Mix for 20 seconds after each addition.
  6. Add sprinkles and mix until combined.
  7. Spread batter evenly among the pans. Bake in preheated oven for 25-35 minutes, until a toothpick comes out clean.  Then let cool on a wire rack 10-20 minutes.
  8. Loosen the sides of the cake from the pan with a spatula. Invert onto a wire rack and flip so it's top is facing up. Let cool completely, then wrap with plastic wrap and place in a refrigerator or freeze for 30 min before frosting.
  9. Trim the tops of the cake so the layers are even.  Frost with buttercream (recipe below). Decorate if desired.
  10. The cake is best eaten on the same day. (Since it's a butter cake, it can get dry if not stored properly.) Wrap with plastic wrap and keep at room temperature for up to 2 days, refrigerate for up to 5 days, or freeze up to 2 months.  Enjoy!

Strawberry Buttercream

makes enough to frost and fill one cake or frost 24 cupcakes

Ingredients

4 sticks butter (1lb), at room temperature
2 tsp vanilla extract
2/3 cups (7 oz) strawberry preserves 
pinch of salt
4 cups confectioners sugar, sifted

Directions

  1. Beat butter for 3 minutes until fluffy.
  2. Add strawberry preserves, vanilla, and pinch of salt and beat until well combined.
  3. Gradually add sugar and beat until fluffy and desired consistency is reached.


Friday, January 25, 2013

Making the Fondant Decorations

Today's my brother's birthday! Today I'm going to bake and assemble his cake, which I'll share with you tomorrow. Now I'll show you the decorations I make from this fondant earlier. Just to let you know, the cake has an Umizoomi theme, and I made the characters Bot, Geo, and Mili.  I don't feel the need to explain how I made them, since the pictures show it all. 


My design. Let's see how it turns out.
To color fondant, add food coloring (I used wilton icing colors) and just knead it in until evenly mixed.


Cutting out Bot.


To make eyes, I took little pearl sprinkles and dyed them with black food coloring.


Done!


Now for Geo.


Mili


Finished decorations

I hope this inspired you! Thanks for watching.