Tuesday, June 25, 2013

Chunky Monkey Cookies

     
       I like putting pretzels, peanuts, and pine nuts in my nutella or PB&J sandwiches.  It's because when you bite through the soft bread and feel the crunch of the pretzel or nuts, it's like you're snapping the bones of a small creature.  Totally not weird or anything.

       These cookies have a lot of the same textures I like in my sandwiches.  There are the white chocolate chips and the salty peanuts for crunch and some smooth pockets of melted semi-sweet chocolate when you eat the cookies warm.  And the cookie is very soft and chocolatey. It's just like eating a monkey (a species that is made of chocolate and deliciousness).

        The cookies don't spread much, so if you make rounded scoops, the cookies will stay round.  If you want flatter cookies, just press down on the cookies so that they have the shape you want.  Spherical cookies are pretty cute, too, you know.  


         I really like the flavors in this cookie.  There is a lot of chocolate, which is always good.  There are bittersweet chocolate, unsweetened cocoa powder, unsweetened chocolate, white chocolate chips, milk chocolate chips and chopped semisweet-chocolate.  White chocolate isn't technically chocolate, but it goes super well with the rich chocolate cookie and balances with the slight bitterness of other chocolates. Also, the salty chopped peanuts check the sweetness of the cookie.

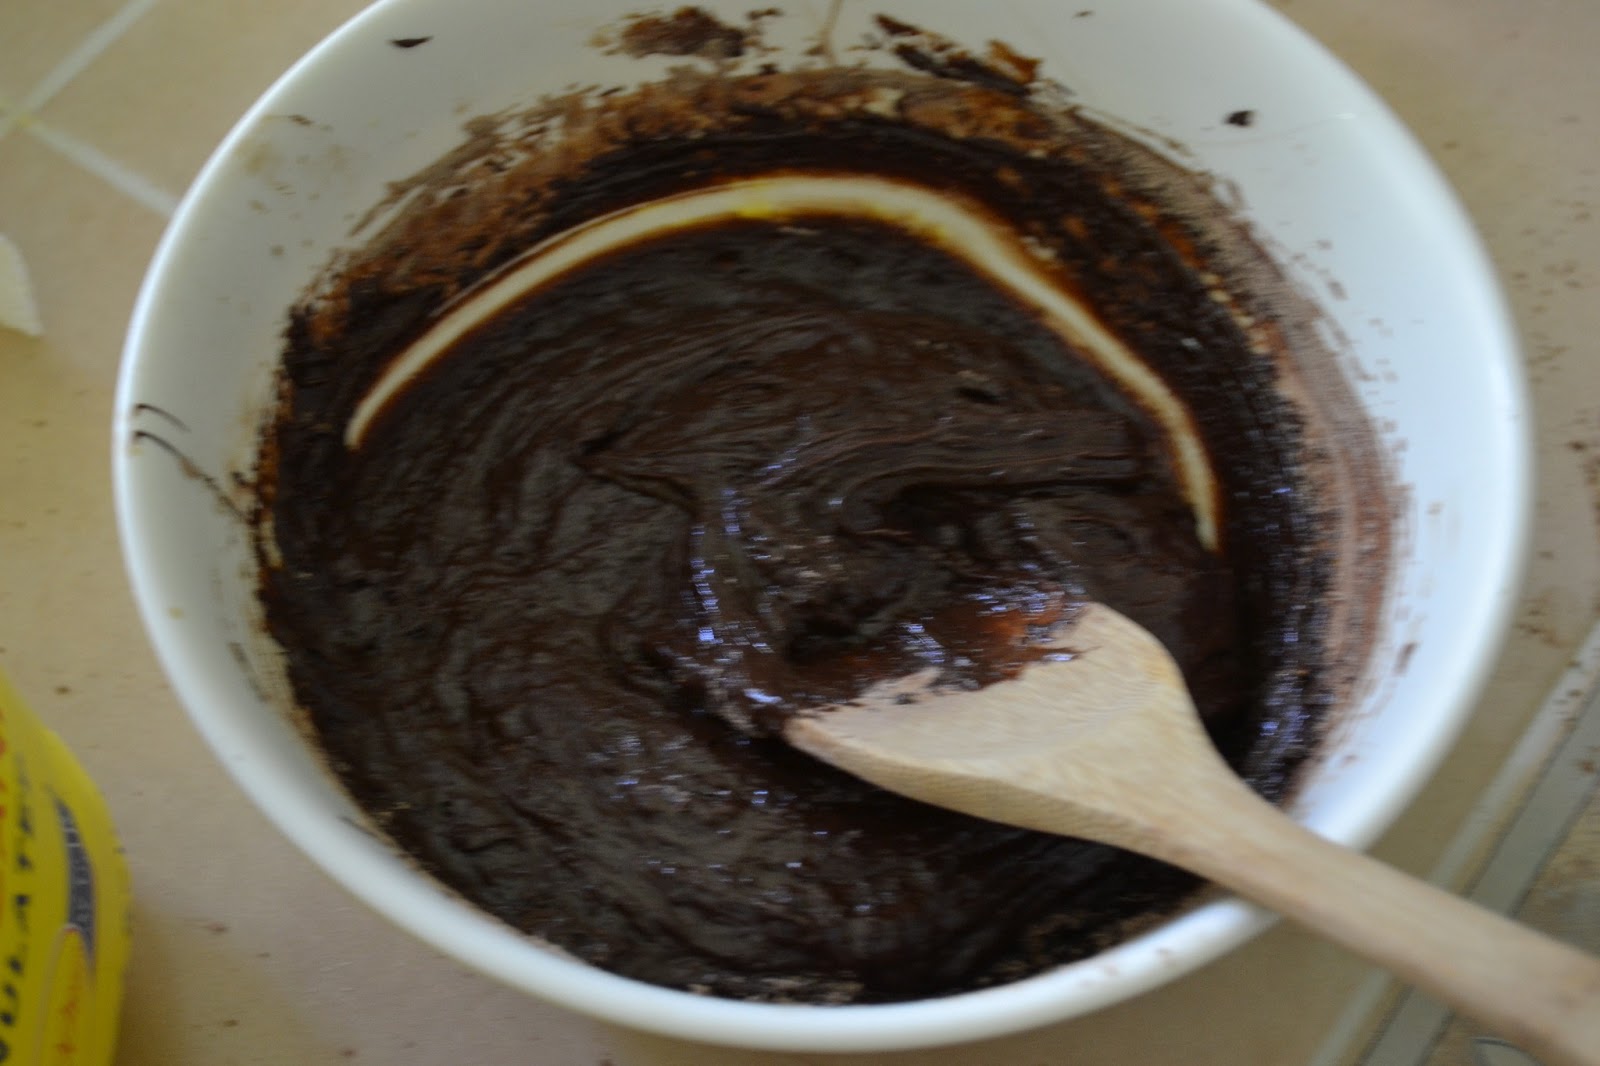
First, melt together chocolate and butter and set it aside to cool.
Whisk together the dry ingredients like my brother is doing here.
Beat together the eggs, sugar, and vanilla until foamy.

Stir in the chocolate and dry ingredients until incorporated. 


Now, to have a proper chunky cookie, I suggest buying a bar of chocolate and chopping it yourself.  It's good if the pieces are uneven sizes. 
Stir in the chocolate chips/chunks and nuts.
Scoop the dough onto a baking sheet.
Bake until the tops are dry but the cookies are still moist.
Enjoy!

Chunky Monkey Cookies

adapted from Baking: From My Home to Yours by Dorie Greenspan
makes about 24 cookies

Ingredients

1/3 cup flour
1/4 cup unsweetened cocoa powder
1/2 teaspoon salt
1/4 teaspoon baking powder
3 tablespoons unsalted butter, cut into several pieces
6 ounces bittersweet chocolate, coarsely chopped
1 ounce unsweetened chocolate coarsely chopped
2 large eggs
2/3 cup sugar
1 teaspoon vanilla
6 ounces semisweet chocolate chips or chunks
6 ounces milk or white chocolate chips or chunks
1 1/2 cups salted peanuts, chopped

Directions

  1. Place an oven rack in the center of your oven and preheat to 350 degrees F. Line two baking sheets with parchment paper.
  2. Whisk together the flour, cocoa powder, salt and baking powder. Set aside.
  3. Melt the butter, bittersweet chocolate and unsweetened chocolate together in a bowl over a pot of simmering water, or in the microwave, stirring constantly until smooth.  Set aside to cool.
  4. In a large bowl beat the eggs and sugar together with an electric mixer on medium high speed until the mixture is pale and foamy, about 2 minutes. Beat in the vanilla and scrape the sides of the bowl. Add the melted chocolate mixture and beat on low speed just until combined.
  5. Add the flour mixture, mixing just until there aren't any streaks of flour.  Stir in the chocolate chips/chunks and nuts.
  6. Drop the dough by generously heaping tablespoonfuls onto prepared baking sheets about 1 inch apart. Bake the cookies one sheet at a time for 10 to 12 minutes. The tops should look dry but the interiors should still be soft.
  7. Transfer cookies to a cooling rack to cool completely.


Saturday, June 22, 2013

Book Food: Night and To Kill a Mockingbird

       I already shared the poke cake and black tea cupcakes to represent books for my English project.  Finally, here are the other two foods I baked.

        Night by Elie Wiesel was about the Holocaust, so of course it was sad.  A key theme reflected on the struggle between survival and humaneness.  Also, bread played a significant role in the book since it was the prisoners' key to survival.  Thus, I made bread with a heart baked inside of it.  The hard crust represents hardship and the soft heart inside shows that even in difficult situations, humanity prevails.  Quite profound.

         To make the bread, first make some pink bread dough (tinted with either food coloring or beet powder).  Roll it into a cylinder, wrap it in foil, let it rise, and bake it.  Then cut a notch out to make it look like a heart with a lot of depth.  Freeze the heart until solid.  Next, make some regular bread dough.  Roll it into a rectangle, brush it with egg whites, and wrap the frozen heart inside.  Be sure to press a strip of plain bread dough into the notch in the heart. Place the dough in a pan, let it rise, brush with egg wash, and bake. Do all this and you have heart bread.


           To Kill a Mockingbird by Harper Lee is a sweet book taking place in Alabama, and in the early 1900s I think.  Racism and segregation play a large role in the maturation of its speaker, Scout.  Tradition is valued by the citizens in the book and largely controls their actions.  To symbolize tradition, I baked a lane cake, famous in Alabama.  However, Scout and other characters break tradition by supporting African Americans.  To show this, I frosted the cake with chocolate frosting instead of the normal seven-minute-style  frosting.  Also, to represent segregation, I cut the lane cake and chocolate cake into concentric rings and mix-matched them to make a checkerboard cake. 


       So now you know foo can symbolize a lot.  Not only can it reflect your lifestyle or personality, but it is also a great medium for representing book themes.  Enjoy! And forgive me for bringing back memories of English class after school is out for summer.

Monday, June 17, 2013

Carrot Cake Cheesecake


          I realized recently that I haven't been eating as many vegetables as I probably should be.  The only meals I regularly have veggies in are lunch and dinner, and even then I mostly eat rice or bread.  But if I want to have my daily 5 servings of vegetables, I'm going to have to extend beyond lunch and dinner.  Zucchini pancakes, vegetable juice, and veggie straws are some solutions, but why limit vegetables to boring, not very flavorful foods?  Why not have veggies for dessert?  Carrot cake is the perfect solution. 


       Carrot cake turns out to be my dad's favorite kind of cake.  It's my go-to cake for celebrating his birthday or father's day.  However, since I don't like making the same thing too many times, I often change the cake up a little.  Like last year, I made him carrot cake sushi (see here) which was basically a carrot roll cake cut to look like sushi (my dad also really likes sushi).  This year, I made a carrot cake cheesecake, which kind of makes average carrot cake seem obsolete.   


         Everyone knows how carrot cake and cream cheese are the perfect food combination.  Carrot cake is always frosted with cream cheese frosting.  But to take it up a notch, this cake covers carrot cake with cheese cake, which is then frosted with cream cheese frosting.  Heavenly.  Forget graham cracker crusts.  Just use cake for the base of all your cheesecakes.  


          I then made some candied walnuts to top the cake.  Since the cheesecake and carrot cake are creamy, the crunch of the walnuts is very welcome.  Also, the big, chunky carrot cakes I'm used to always include walnuts in the batter, but this time I wanted the cake to be smoother so that it would blend with the cheesecake better.  Thus, I just put the nuts on top instead of including them in the batter.  Candying the walnuts gives the nuts an even bigger crunch and a beautiful flavor.  You'll have some extra from the recipe below, but they will probably be nibbled up by the end of the day.  

           Making the cake is simple.  Just keep in mind that you need a 9 to 10" springform pan (a pan with detachable walls).  It doesn't have to be fancy, mine is an old metal one which I bought for a quarter at a yard sale.  

First, whip up the cheesecake batter (cream cheese, eggs, vanilla, sour cream, flour and sugar).
Mix together oil and sugar.
Add eggs and vanilla and mix well.

Stir in the dry ingredients.
And add grated carrots.
Spread half the carrot cake batter on the bottom of a greased 9 or 10" springform pan. 
Dollop some large spoonfuls of cheesecake batter on top (about half the cheesecake batter)
Cover with the spoonfuls of the rest of the carrot cake batter.
Smooth the rest of the cheesecake batter on top.
Bake for about an hour.  It will take less time for a 10" cheesecake to bake.  If it's turning brown after half an hour, cover with aluminum foil.   In the end, it will look puffy and cracked, that's okay. 
Let it cool completely and it will loose it's puffiness.
Whip up the cream cheese frosting. 
Frost the cake and refrigerate until chilled.

Then, make the candied walnuts.  First, toast the nuts in the oven.
Melt some brown sugar.  I used a chopstick to stir.
Add some salt and the walnuts, and toss to coat
Dump the walnuts back onto the parchment paper and quickly break them apart with 2 forks.  Move fast before the sugar hardens.
Remove the cake from the pan and cover with the candied walnuts.  Serve cold.
       Enjoy and remember to eat your veggies!  

       P.S.  This cake is not actually good for you.  

Carrot Cake Cheesecake with Candied Walnuts

recipe adapted from Mel's Kitchen Cafe
makes one 9"-10" cheesecake, serves 12-16 people

Ingredients

For the cheesecake:
1 lb cream cheese 
1/2 cup granulated sugar
2 large eggs
1 tsp flour
1 tsp vanilla extract
1/2 cup sour cream
For the cake:
3/4 cup vegetable or canola oil
1/4 cup packed brown sugar
3/4 cup granulated sugar
2 large eggs
1 tsp vanilla extract
1-1/4 cups all-purpose flour
1/2 tsp baking soda
3/4 tsp cinnamon
1/2 tsp nutmeg
dash of cloves
1/2 tsp salt
1/2 lb finely grated carrots (about 1 heaping cup)
For the cream cheese frosting:
3 oz cream cheese, at room temperature
2 tbs unsalted butter, at room temperature
1-1/2 cups confectioners sugar, sifted
1 tsp vanilla
1 tbs sour cream
For the candied walnuts:
3/4 cups walnuts
1/4 cup brown sugar (loose, not packed)
coarse salt (optional)

Directions


  1. Make the cheesecake batter:  In a medium bowl using an electric mixer on high speed, beat the cream cheese, sugar, eggs and flour until smooth. Add the vanilla and sour cream and mix just until blended. Set aside.
  2. Make the carrot cake batter: In a large bowl using an electric mixer, beat together the oil, brown sugar and granulated sugar until smooth. Add the eggs and vanilla and beat until the mixture is light creamy and light. Stir in the flour, baking soda, cinnamon, nutmeg, cloves and salt until just combined. Mix in the carrots.
  3. Preheat the oven to 350 degrees F. Lightly grease a 9- or 10-inch springform pan with cooking spray. Spread half of the carrot cake batter into the bottom of the prepared pan. Dollop half of the cheesecake batter on top of the carrot cake layer in large spoonfuls. Don't spread or swirl together. Just dollop. Dollop the rest of the carrot cake batter on and around the spoonfuls of cheesecake batter. Spread the last half of the cheesecake batter on top of all the layers and spread with an offset spatula into an even layer. Tap the pan on the counter a couple of times to get rid of any air bubbles.
  4. Bake the cheesecake for 60-70 minutes (check earlier if using a 10-inch springform pan; it won't bake as long as a 9-inch pan).  Cover the top of the cheesecake with foil the last 20 -30 minutes of baking if it is browning too quickly. The cheesecake will puff up and probably crack, but once it cools it will deflate and the cracks will be covered with frosting.  The top center part of the cheesecake should still be slightly soft and jiggly when you take it out, and be careful not to over-bake. Let cool completely in the pan on a wire rack for about an hour.
  5. Make the frosting: Whip together the cream cheese and butter until creamy and smooth. Mix in the powdered sugar a little at a time until the frosting is well-combined with no lumps. Add the vanilla and sour cream and mix well.  When the cheesecake is cool, spread the frosting evenly over the top of the cheesecake.
  6. Make the candied walnuts:  Preheat oven to 350*F.  Line a baking sheet with parchment paper and spread the walnuts on top.  Bake for 5 minutes, or until toasted and fragrant.  Be careful not to burn them.  Meanwhile, place the sugar in a heavy-bottomed pot over medium heat.  Stir constantly until melted, then add a pinch of salt and the toasted walnuts. Toss to coat.  Scoop the walnuts back onto the parchment lined baking sheet and immediately separate the walnuts using 2 forks.  Set aside to cool completely before placing on top of the cheesecake.  
  7.  Cover the cheesecake with tin foil or plastic wrap, careful not to touch the frosting, and refrigerate until well chilled, at least 6 hours. Serve cold. The cheesecake can be refrigerated for 2 days.