|
| I took these to a picnic. The best way to transport them is in an egg carton, of course. |

These cakes are baked in real egg shells. And yes, you do use some of the egg within the shells to make the cake batter. There's also a little "yolk" in the middle which I made from pastry cream. The pastry cream also uses an egg that I emptied from a shell, and I found a pastry cream recipe that uses the whole egg, so I didn't have to worry about adding egg whites to the 16 de-shelled eggs I have in my fridge (omelettes, anyone?)
 |
| I had to use food coloring to make the filling more yolk-colored. |


You don't have to dye the egg shells, but I did. It's really a lot of fun. To dye them: Prepare one bowl for each color you want with 1/2 cup of boiling hot water mixed with 1 tbs of white vinegar and 6 drops of food coloring. Drop in the egg shells and let soak for about 5 minutes, or until the desired shade is reached. You can soak the eggs in more than one color, too. Let the egg shells dry with the hole side down on top of paper towels.
To make these eggs even more irresistible, I decided to dip some de-shelled cakes in chocolate. Just melt some chocolate in the microwave or in a bowl over simmering water, dip in the cakes, and freeze them until the chocolate is hardened. Then you will have something similar to those Easter candies, only much, much awesomer.

 |
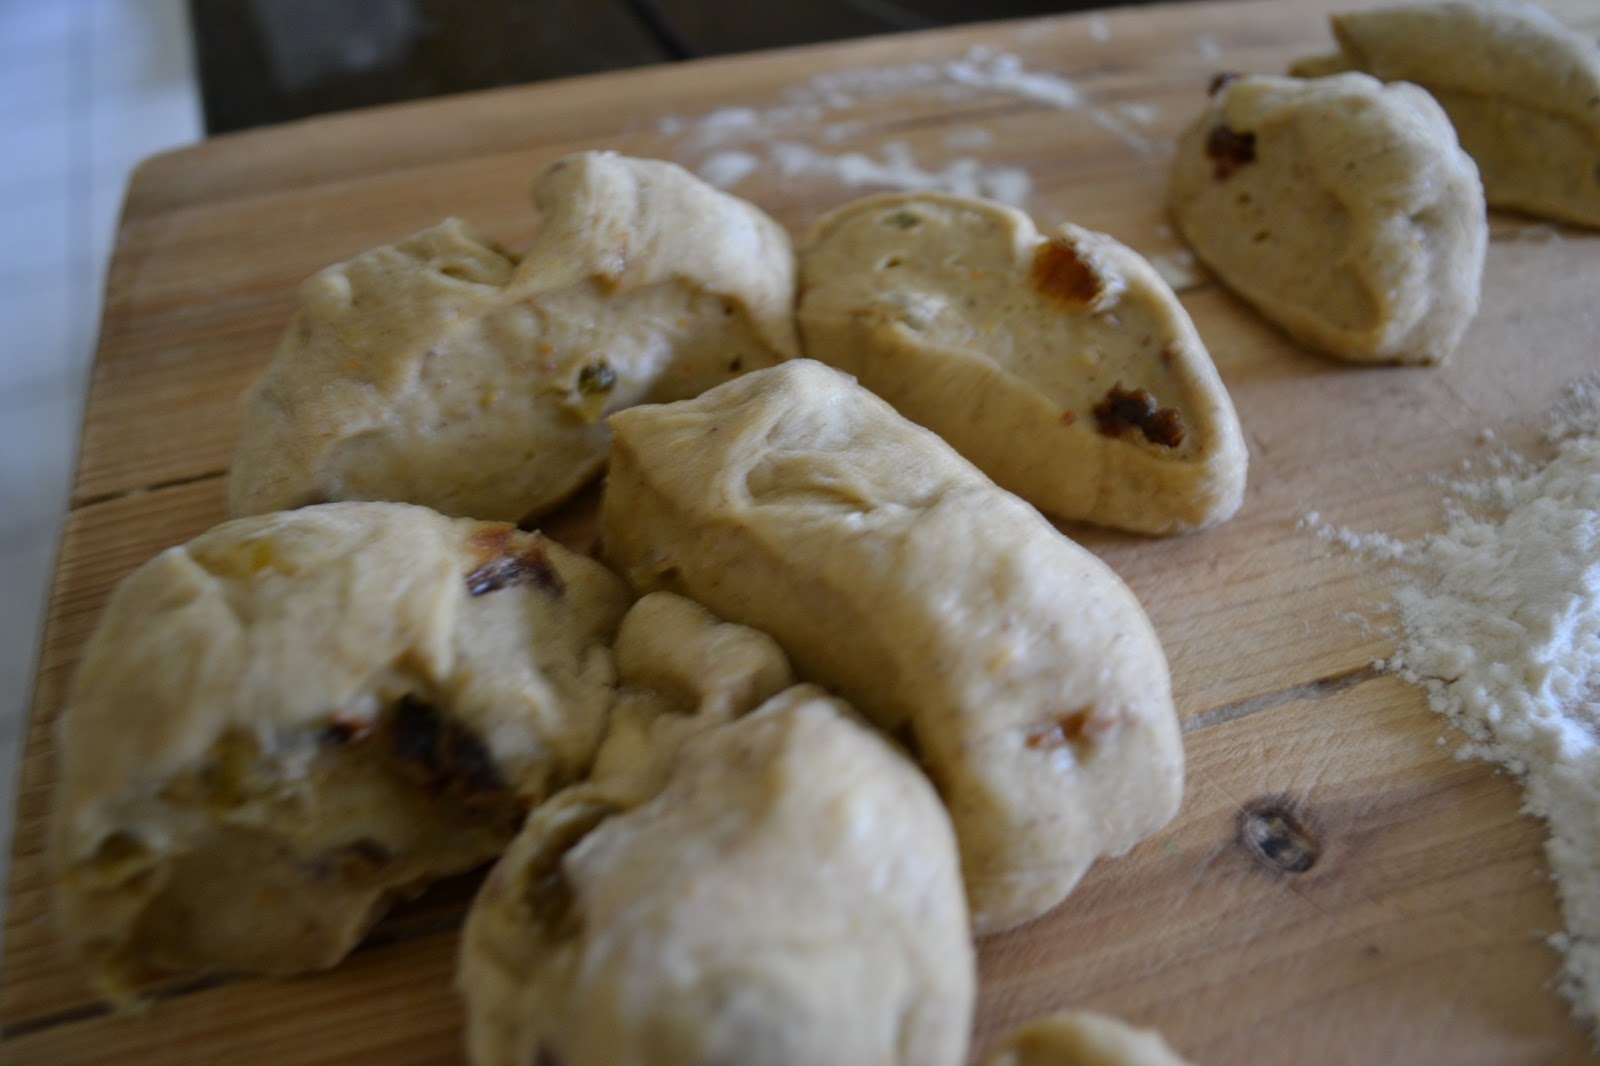
| Cross-section |
 |
| Make a small hole at one end of the egg. Corkscrew bottle openers work really well here. And you know how when you squeeze an egg from all sides, it won't break? Use that principle here. Tightly grip the circumference of the egg as you poke the hole to avoid breaking the whole thing. |
 |
| Widen the hole a bit with your fingers. |
 |
| Dump out the egg. You'll need something pointy, like the end of a thermometer or a skewer to help the eggs come out. Dump two eggs in one bowl, and one egg in another to use for the cake and filling recipes. The rest, you can do whatever you want with. It would be helpful to store them in containers of two so you can measure the eggs out for baking more easily. And here's a helpful fact: one large egg is 2 oz in weight. This process of emptying the eggs gets easier as you go along, trust me. |
 |
| Rinse out the eggs and soak them in saltwater for 30 minutes. Now you can dye the eggs if you want. |
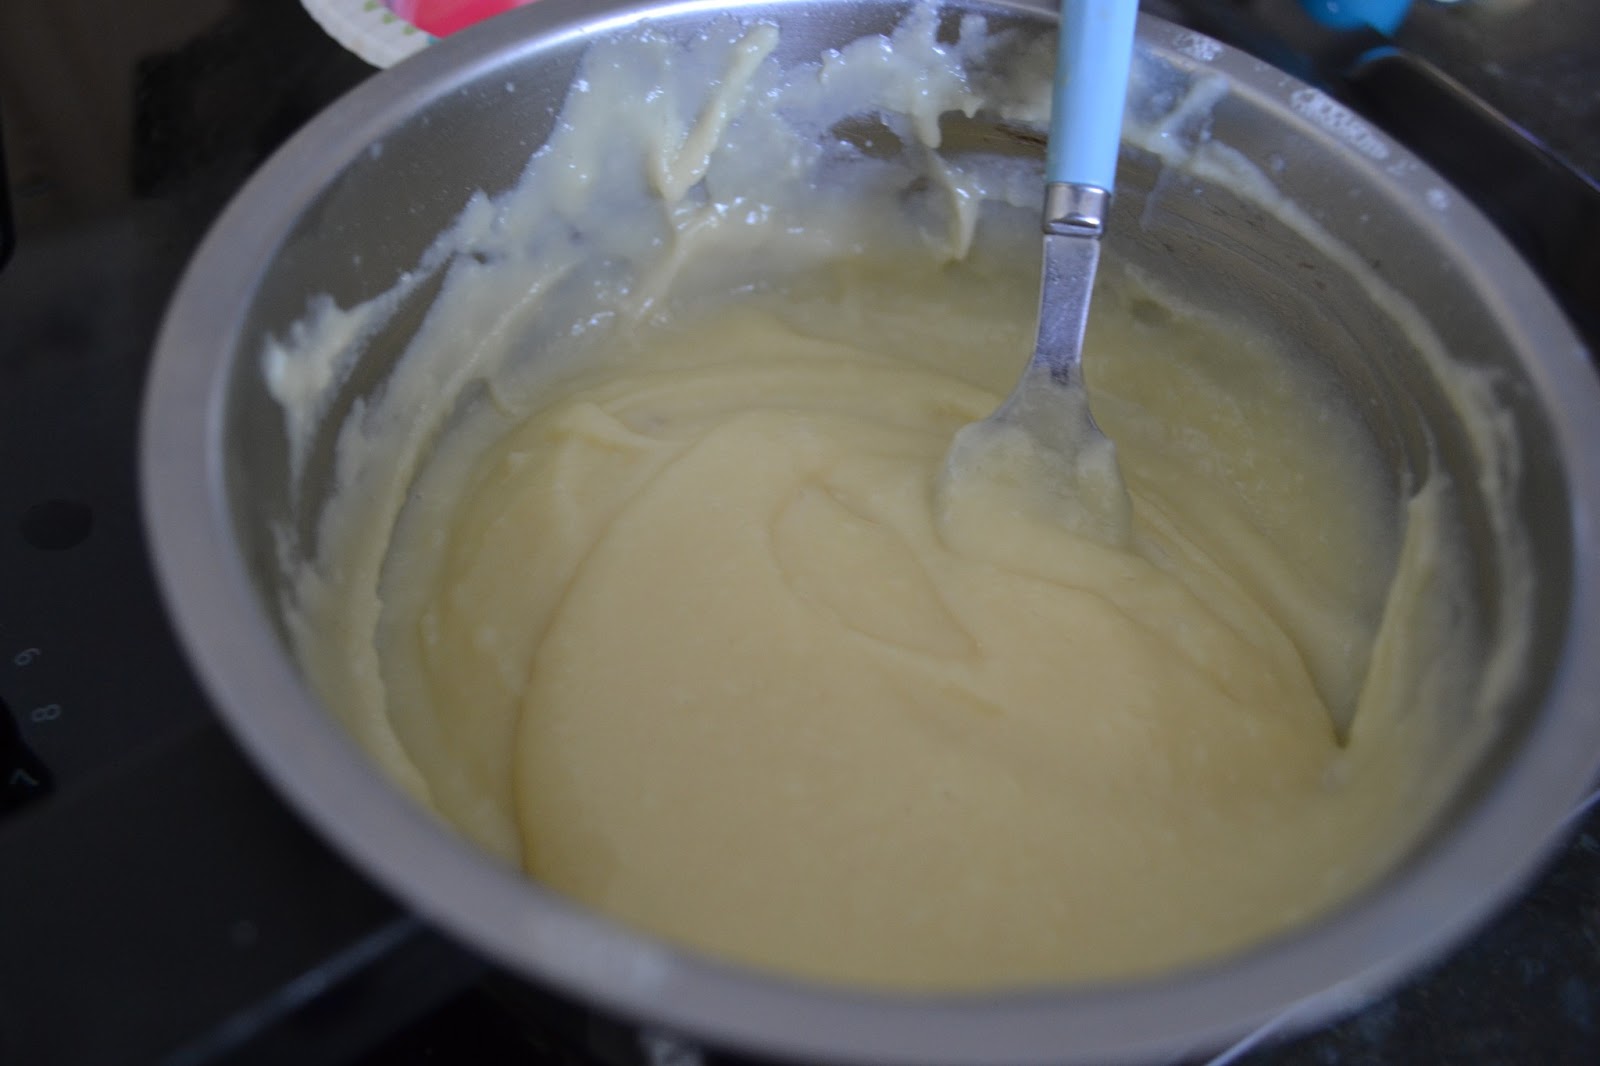 |
| Make the pastry cream. |
 |
| You can tint the cream yellow or orange to make it more yolk-like. |
 |
| For the batter, whip the eggs (reserved from when you dumped out the egg shells) with the sugar. |
 |
| Add the butter and lemon extract. |
 |
| Fold in the dry ingredients. |
 |
| Lighten the dough by folding in some sour cream. (I had just enough sour cream left in my fridge from when I made my nest cupcakes last week!) |
 |
| Put the eggshells in a cupcake pan, using foil to help them stand upright. Fill the egg 1/4 way with batter, then 1/2 way with pastry cream, and finally 3/4 way with more batter. Here, it's better to overfill than under-fill, because you can always trim off the excess later (and eat it). |
 |
| You can use a piping bag with a smallish tip and/or a squeezy bottle to pipe the batter into the egg shell. |
 |
| Bake the egg shells, and they'll look something like this. Let them cool, trim off any excess if you want to, and then get kraken. You can also carefully peel off the shells and dip the cakes in chocolate like in the pictures above. |
So there you go, cakes baked in egg shells. They do take some time and effort to make, but the result is very interesting. You eat these just as you would a hard-boiled egg. Crack it, peel of the shell, and enjoy. April Fools idea: give someone one of these and tell them it's a hard-boiled egg. It'll be priceless.
Enjoy!
Lemon Cupcakes with Pastry Cream Filling, Baked in Eggshells
makes 18 large eggs
adapted from Cupcake Project and Tartine
Ingredients
For the egg shells:
18 large eggs (shells only)
1/2 cup hot water +1 tbs vinegar + 6 drops food coloring (for each color you want to dye the eggs, optional)
For the pastry cream "yolks":
1 cup whole milk
1 tsp pure vanilla extract
1/4 tsp salt
2 tbs cornstarch
1/4 cup sugar
1 large egg (2 oz) (from empying egg shells)
2 tbs butter, cut into pieces
a couple drops orange food coloring (optional)
For the cake batter:
1 cup all-purpose flour
1/2 tsp baking powder
1/4 tsp baking soda
a pinch of salt
2 large eggs (4 oz) (from emptying egg shells)
1 cup sugar
1/2 cup (1 stick) unsalted butter, at room temperature
3/4 tsp lemon extract
1/2 cup sour cream
Directions
For the egg shells:
- Take something pointy (like a corkscrew bottle opener) and, while firmly holding the egg in all directions, poke a small hole in the bottom of the egg. Widen the hole a bit with your fingers, and then coax out the egg innards with a skewer or the end of a thermometer. Repeat with the rest of the eggs, reserving 2 eggs in one bowl and 1 egg in a separate bowl (for the cake and filling).
- Rinse out the eggshells, and then soak in saltwater for 30 minutes. Rinse again with cold water to remove the salt. Dye the eggshells by soaking them in the hot water/ vinegar/ food coloring mixture for about 5 minutes.
- Let the eggshells dry for a bit with the hole side facing down on top of paper towels.
- Place the eggshells in a cupcake tin, wrapping squares of aluminum foil around them to help them stand up straight.
For the pastry cream:
- In a small saucepan, combine the milk, vanilla, and salt. Bring to a boil over medium heat.
- Meanwhile, whisk together the eggs, cornstarch, and sugar. Slowly add the milk mixture in a thin stream, whisking constantly.
- Return the mixture to the saucepan and cook over medium heat, whisking constantly, until the mixture thickens and starts to boil.
- Remove from heat and let cool for 10 minutes. Then stir in the butter and optional food coloring until combined. Set aside.
For the cake batter:
- Whisk together the flour, baking soda, baking powder, and salt in a small bowl.
- In a medium bowl, beat together the eggs and sugar on high speed, until light and fluffy. Add the butter and lemon extract and mix until well combined.
- Slowly stir in the dry ingredients until just incorporated.
- Fold in the sour cream.
For assembly:
- Preheat oven to 350*F
- Fill 2 piping bags fitted with small tips with the batter and the pastry cream.
- Pipe batter into the eggshells until they are 1/4 full.
- Pipe pastry cream into the eggshells until they are 1/2 full.
- Pipe more batter into the eggshells until they are 3/4 full.
- Bake for 20 minutes in preheated oven.
- Let cakes cool, crack, and enjoy.
- If desired, you can carefully remove the shells after the cakes are baked, dip the cakes in melted chocolate, and freeze until the chocolate hardens to make candy eggs.