Showing posts with label buttercream. Show all posts

Thursday, June 6, 2013

Milky Way Cake

    
The best birthday cake.
       Strangely, I don't like candy bars that much.  They're good once in a while I guess, but I would much rather eat a chewy oatmeal raisin cookie or a soft, fluffy muffin than a Hershey's bar.  

       This wasn't always the case.  Before I became accustomed to freshly baked goods and foods made from scratch, I loved candy, and Milky Way bars were my favorite.  Milky Ways, as I remember, were basically just a nougat and caramel dipped in chocolate.  After seeing other desserts based off of candy bars, I was inspired to elevate this candy bar into a chocolate layer cake with salted caramel buttercream, covered in milk chocolate ganache and homemade caramel sauce.  Since it was my birthday when I made this, it was justified that I indulge in this rich, sweet, and just scrumptious cake. 


       Food can symbolize a lot.  I should know because I just finished baking my English final project (more details to come).   In this case, the cake symbolizes how I got older.  Similar to how I grew into a highschooler,  the Milky Way bar grew into a gorgeous five-layer cake.  

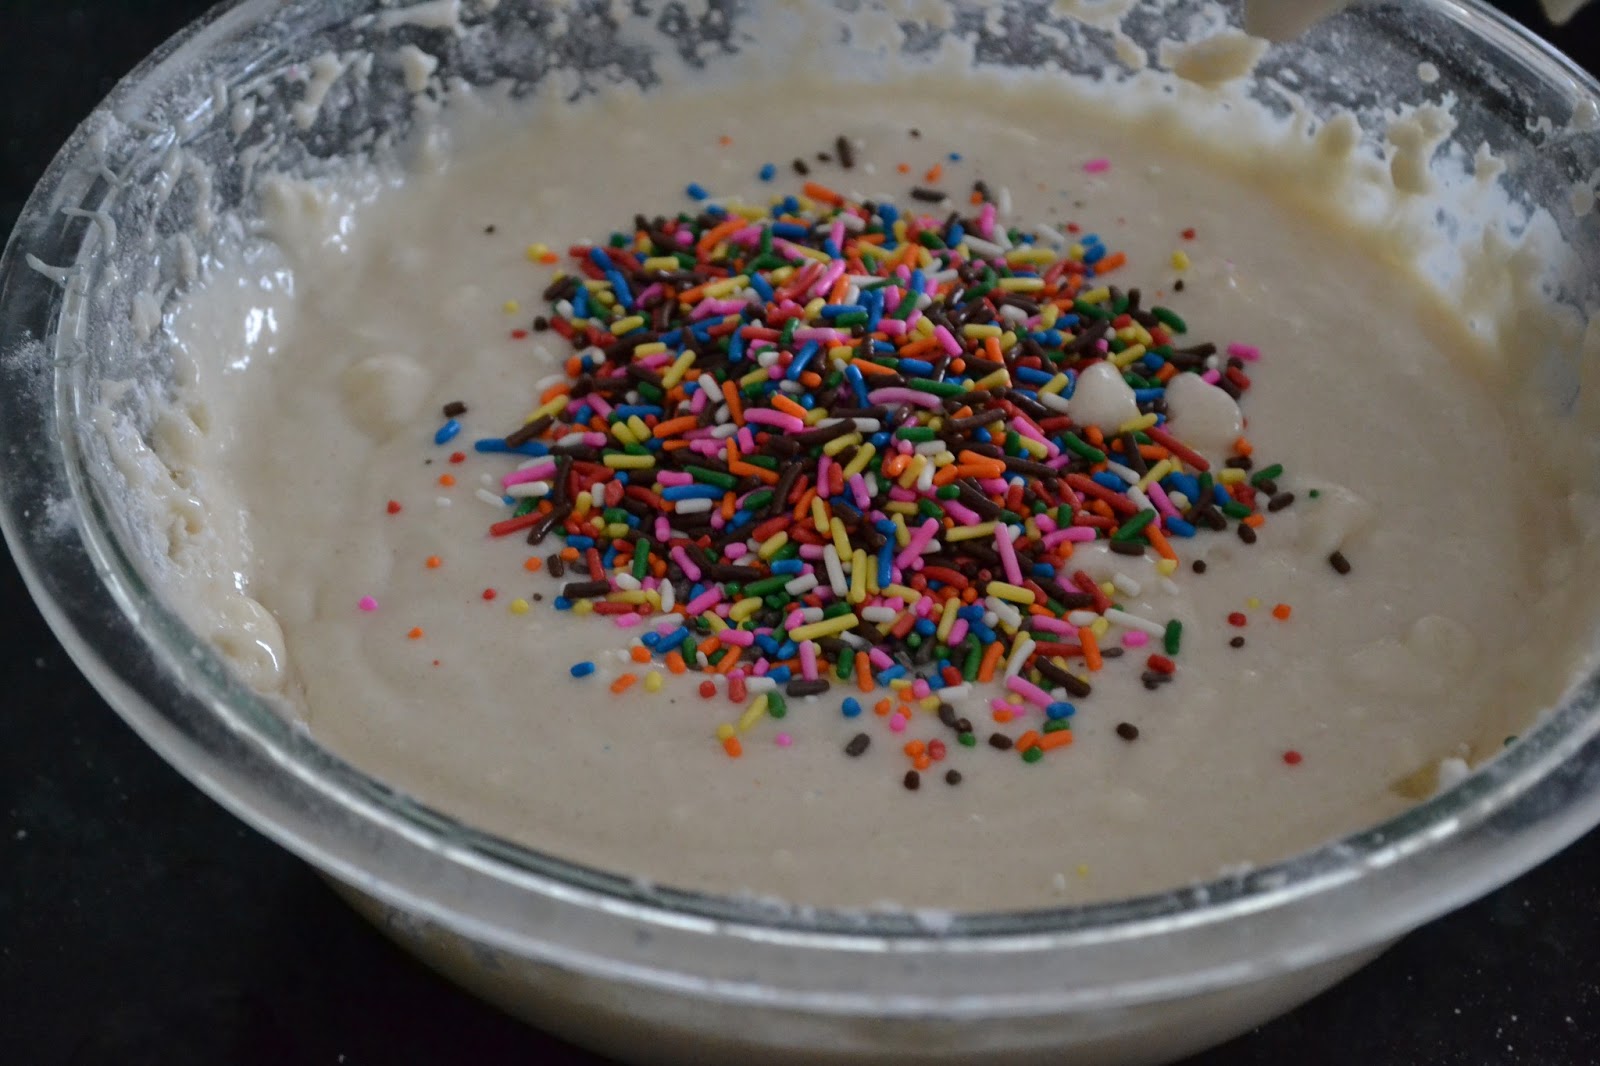
        For the basic cake, I used my favorite one-bowl chocolate cake recipe, which is quick and easy to make.  I made 3 8" layer and then split 2 of the layer in half (the third layer was thinner than the others). 

        Then I modified a nougat recipe according to the things I had.  All you need is marshmallow fluff (found in the peanut butter isle), chocolate malted milk powder (found where the dehydrated milk is), milk, butter, and vanilla extract.  The result was just what I wanted, and it was exactly like the filling in Milky Way bars.  


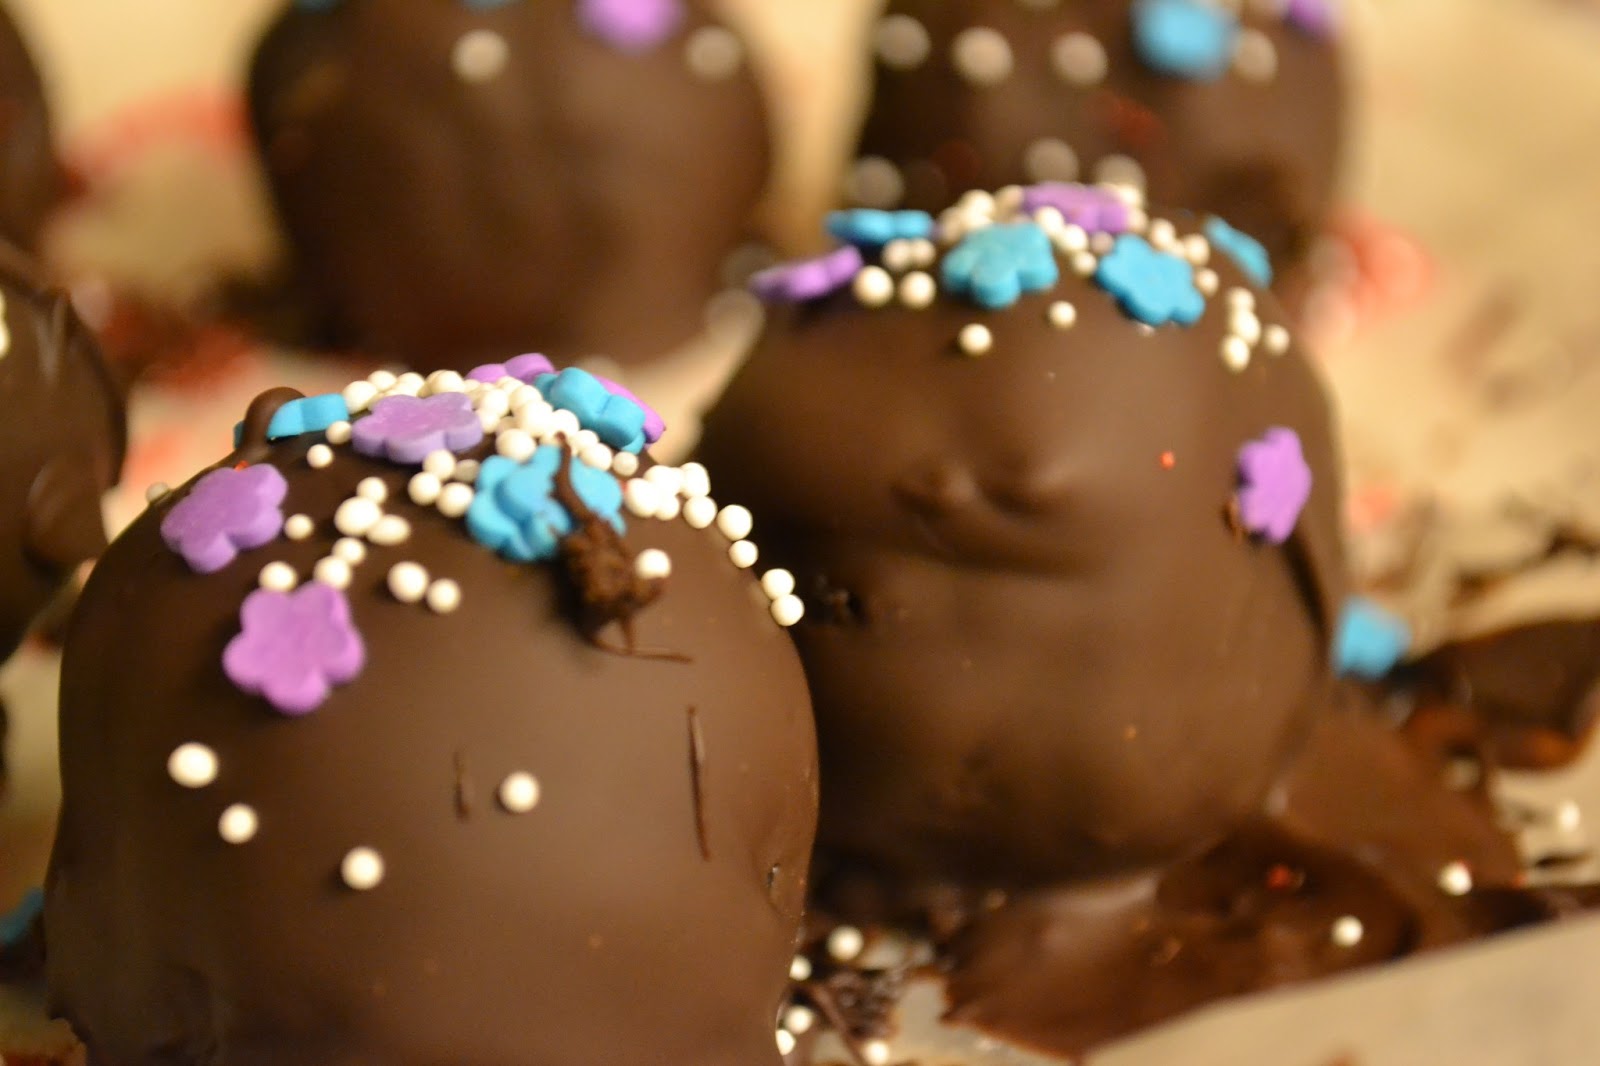
         I made some caramel sauce (which is basically almost-burnt sugar mixed with heavy cream and butter) and incorporated it into a buttercream.  Then I filled and frosted the cake and poured ganache and more caramel sauce on top.  I was kind of lazy and I didn't feel like making the cake pretty.  Also, everyone in my house was pressuring me to finish the cake so that they could eat it.  If you want it to look pretty, let the ganache cool and thicken more before you pour it.  

         I really liked this cake, and so did my family.  They said that it was the best cake I ever made.  They always say that, but I agree that it was pretty awesome.  The cake was moist and chocolatey, the filling was fluffy and nougaty, the frosting was creamy and so delicious, and...need I say more?

         Please do yourself and those around you a favor and make this.  Enjoy!

One Bowl Chocolate Cake

Recipe in this post

*Spread batter evenly into 3 8" or 2 9" cake pans and bake.
*When the cakes are cool, or, preferably, chilled in the refrigerator, cut each cake in half vertically so you get 4-6 cake layers.

Nougat Cake Filling

makes about 2-1/2 cups

Ingredients

1/4 cup unsalted butter
1 cup sugar
1/4 cup milk
1/4 cup chocolate malted milk powder
7.5oz (1 small jar) Marshmallow Fluff

1 tsp vanilla extract

Directions

  1. In a medium saucepan, melt the butter over medium heat.  Stir in the sugar, milk, and malted milk powder.  When the mixture is smooth, remove it from the heat.  Stir in marshmallow fluff and vanilla until well combined.  Transfer to a bowl and let cool to room temperature, stirring every so often.  Yo can also refrigerate the filling and then microwave it to get it back to room temperature.

Caramel Sauce

adapted from Brown Eyed Baker
makes one cup

Ingredients

1 cup granulated sugar
6 tbs butter, at room temperature and cut into pieces
1/2 cup heavy cream
1-1/2 tsp fleur de sel or flaky sea salt (optional)

Directions

  1. In a medium pot, add the sugar and melt over medium heat, stirring constantly until it is all melted.  Once it's smooth, stop stirring and just swirl the pot around instead.  When the caramel is golden and reaches 350*F, remove it from the heat.  Be careful or it will burn. 
  2. Add the butter pieces, carefully because the mixture will start bubbling.  Stir until smooth.  
  3. Slowly add the heavy cream and whisk to incorporate. Stir in salt if using.
  4. Let sauce cool for ten minutes, then transfer into a glass jar.  Let cool to room temperature and then refrigerate.
  5. This can be refrigerated for up to two weeks.  Microwave until liquid before using.  

Caramel Buttercream

adapted from Brown Eyed Baker
enough to frost one cake

Ingredients

1 stick (1/2cup) unsalted butter, at room temperature
4oz cream cheese, at room temperature
1/4 caramel sauce (recipe above)
2 cups confectioners sugar, sifted

Directions

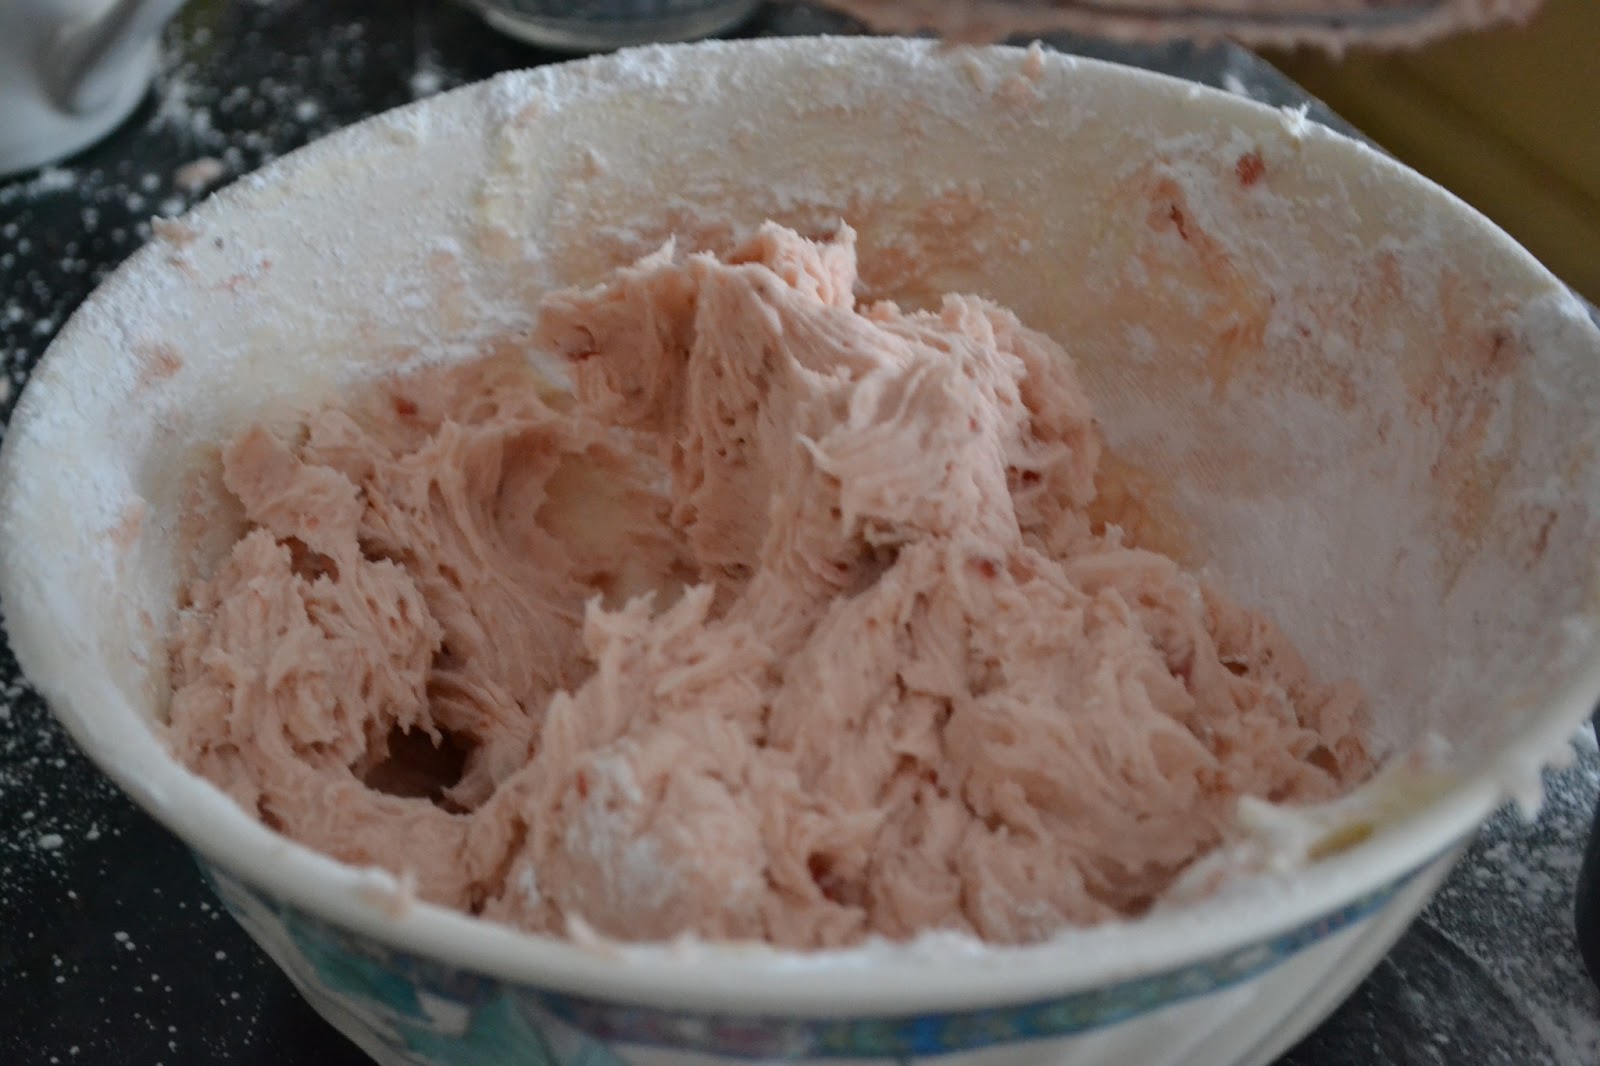
  1. Cream together the butter and cream cheese until light and fluffy.  Then beat in the caramel sauce.  Add the sugar bit by bit and beat to incorporate.  Beat the frosting for a couple of minutes until fluffy.

Milk Chocolate Ganache

Ingredients

8oz milk chocolate chips
1/2 cup heavy cream

Directions

  1. Bring the heavy cream to a boil and then pour over the chocolate. Stir until smooth. Let cool a bit before pouring over the frosted cake.

Assembly of Milky Way Cake

  1. Spread nougat filling onto one cake layer and then place another cake on top.  Repeat with the rest of the cake layers.
  2. Frost the cake with the caramel buttercream
  3. Pour the ganache over the cake, then drizzle on some more caramel sauce.
  4. Refrigerate until serving. 


Thursday, May 30, 2013

Graduation Cake


      My sister graduated today, and I'm really happy for her.  So, to say congrats, I made her a cake instead of saying it directly to her face because I knew that she heard "congrats" a bazillion times already.  I'm going to miss her weirdness next year.  She's going to a college that is pretty far away from my house, but I know we'll video chat often (hopefully).  


     I decided to make a square cake because I've never actually make one before and it just seems right for graduation.  You know, birthday cakes can be round, but graduation cakes just seem like a rectangular kind of cake (and squares are rectangles).  Our school colors are blue, white and yellow, so I made a vanilla cake filled with homemade lemon curd and store-bought blueberry jam and iced with vanilla butter cream.  

Lemon curd is easy to make.  Just cream together some ingredients and cook it over a stove.

It's done cooking when it leaves a trail on the back of a wooden spoon like this.

Then you just refrigerate it until it thickens.
    The cake is perfectly tender, soft, and dense.  It's the ideal vanilla layer cake.  It's simple to make and tasty.  The lemon curd turned out well, and so did the frosting.  The recipe makes enough buttercream to give the cake a thin coat of frosting, but if you love frosting, you should double the recipe.  The buttercream is my go-to vanilla frosting.  It's rich, creamy, and sweet. Perfect for any cake/cupcake.  I'm really happy with how the cake turned out, even though the frosting was kind of sloppy (I couldn't find my piping tip!).


     I made a figurine resembling my sister.  You know, both have brown hair and a light blue graduation gown.  A few tips on making fondant decorations:  (1) Use toothpicks to hold up your figure and attach it to the cake. (2) NEVER put your decorations in the freezer or refrigerator.  The fondant may harden at first, but once you take it out, it will start sweating and become really sticky and gross.  I think it's because since the fondant is cold, a lot of water condenses on the fondant and sticks to the surface.  It's best just to leave the fondant at room temperature lightly covered in plastic wrap.  If you want it to harden, don't cover it.  

     I'm still trying to grasp the fact that my sister is going to college and that I'll be like an only child (except for my brother).  Also, I can't believe that I'll be graduating in just three years!  

To make the cake:

Whisk together the flour, sugar, baking powder, and salt.
Stir in the butter.
Add vanilla and milk.
Beat in eggs.
Prepare a pan.
Spread batter in.
Bake and cool.

Vanilla Layer Cake

enough to make 1 9x13 cake, 2 9" rounds, 3" 8" rounds, 3 9"x9" squares, or 2 dozen cupcakes
recipe modified from King Arthur Flour

Ingredients

2 cups (397g) sugar, preferably superfine or castor sugar (or granulated sugar pulsed in a blender until fine)
3 1/4 (390g) cups all-purpose flour
2 1/2 teaspoons baking powder
1 teaspoon salt
3/4 cup (170g) unsalted butter, soft
1 1/4 cups milk, at room temperature
2 teaspoons vanilla extract
4 large eggs, room temperature

Directions

  1. Preheat the oven to 350°F. Lightly butter and flour cake pans.  Line with wax or parchment paper and grease and flour that.  
  2. In a large mixing bowl, whisk together the sugar, flour, baking powder, and salt.
  3. Add the butter and beat with an electric mixer at low speed, until the mixture looks sandy.
  4. Combine the milk and vanilla and add, all at once. Mix at low speed for 30 seconds, then increase the speed to medium and beat for 30 seconds. Scrape the sides of the bowl.
  5. With the mixer running at low speed, add 1 egg. Increase the speed to medium and beat for 30 seconds. Repeat with the second egg. Continue adding the eggs, scraping after each addition, until all 4 are added.
  6. After the last egg is added, scrape the bowl once more, then beat at medium-high speed for 30 more seconds.
  7. Transfer the batter to the pans of your choice. For layers, divide the batter equally among the pans. Smooth out the tops with an offset spatula. The whole batter weighs 48 oz so if you have a kitchen scale, you can make sure you divide the batter equally.
  8. Bake for 40 minutes for a 9" x 13" pan; 27 minutes for 9" layers; 20-25 minutes for 8" layers, or 18-23 minutes for cupcakes. The cake is done when it's golden brown around the edges and just beginning to pull away from the edge of the pan. A toothpick inserted in the center will come out clean.
  9. Remove the cake and cool in the pan for 20 minutes, then remove the cake and let it cool completely before frosting.

Vanilla Buttercream

makes about 2-1/2 cups, enough to frost 12-24 cupcakes or one small cake depending on how much frosting you like
modified from Savory Sweet Life

Ingredients

1 cup (2 sticks, 8oz) unsalted butter, softened 
3-4 cups confectioners sugar, sifted
¼ teaspoon salt
1 tablespoon vanilla extract
1 to 4 tablespoons milk or heavy cream

Directions

  1. Beat butter until smooth and creamy.  
  2. Add 2 cups of powdered sugar and slowly mix with the butter until incorporated. 
  3. Increase mixer speed to medium and beat in the vanilla extract, salt, and 1 tablespoons of milk/cream. 
  4. Beat in another 1-2 cups of confectioners sugar until incorporated, and then increase the mixer speed and whip the frosting for 3 minutes.
  5. For stiffer icing (good for piping) use more sugar. For thinner icing (good for spreading) add more milk or cream.

Lemon Curd

makes about 2 cups

Ingredients

3 oz. (6 Tbs.) unsalted butter, softened at room temperature
1 cup sugar
2 large eggs
2 large egg yolks
2/3 cup fresh lemon juice
1 tsp. grated lemon zest

Directions

  1. In a large bowl, beat the butter and sugar with an electric mixer, about 2 min. Slowly add the eggs and yolks. Beat for 1 min. Mix in the lemon juice. The mixture will look curdled, but it will smooth out as it cooks.
  2. In a medium, heavy-based saucepan, cook the mixture over low heat until smooth. Increase the heat to medium and cook, stirring constantly (you don't want it to burn), until the mixture thickens, about 15 minutes.  It should leave a path on the back of a spoon and will read 170°F on a thermometer. Don't let the mixture boil. 
  3. Remove the curd from the heat; stir in the lemon zest. Transfer the curd to a bowl. Press plastic wrap on the surface of the lemon curd to keep a skin from forming and chill the curd in the refrigerator. The curd will thicken further as it cools. Covered tightly, it will keep in the refrigerator for a week and in the freezer for 2 months.


Wednesday, February 13, 2013

Super Sophisticated One-Bowl Chocolate Mocha Cake Truffles


   These are not cake balls.  
   They are not the "cake pops" you bake in a machine. 
   These are the kind of cake truffles that at first make you think, "What has our society come to?" But then, "Who were the geniuses who thought of this?"
   What is is it? It starts with a simple chocolate cake (do not use box mix, from scratch is just as easy and tastes so much better).  Then, mix it up with a cup of frosting (I used mocha flavored).  Freeze spheres of the mixture and then coat them in smooth, melted chocolate. Oh yeah, and you need sprinkles.  Trust me on this.
   The result: chocolate heaven.  It's so rich and decadent, but it's portion control, right? Seriously, go make these.  It's for your own good. Unless, of course, you have dietary restrictions.   


   How to make a friend instantaneously: give someone a cake truffle. (Truffle just sounds so much more sophisticated than "ball."  "Cake spheres" is also acceptable.  And, yes, chocolate cake mushed up with icing is sophisticated.)
   You could also put these on a stick and call them cake pops, but really, it's just so much more awkward eating these like lollipops. Really, are you supposed to lick them?
   
You wanna know how to make these? Well, of course you do. And bonus: you only need one bowl. Less dishes to clean *woot*!
First, make a really easy-peasy one-bowl chocolate cake.
Bake it in any kind of pan you want.
Make the super delicious frosting. (I cleaned the bowl I used for the cake batter--not cheating)
This...do it. Dump the cake into the bowl with the frosting. You  don't have to wait for the cake to cool down, in fact,  it's easier to shape it if the cake is warm.
                                      
Yes.
Spheres--Freeze these for at least 4 hours, or overnight. Otherwise, they will lose their shape.
Melt some good quality baker's chocolate using the double boiler method. This has a better flavor than those candy melts you can buy at craft stores.You need about 12oz.
I should have made the batter in a glass bowl so that I could have melted the chocolate in the same bowl (washed.)


  Finally, dip the chilled cake spheres into the chocolate. Spoon chocolate over the areas you can't reach.  Place the cake truffles on wax paper until the chocolate hardens. Feel free to use any extra chocolate to cover some strawberries or any thing else you can find in your kitchen.
  These are so much better than actual chocolate truffles.

Chocolate Cake Truffles/Sphere/Ball/Pops

makes about 24 1.5" spheres

Components

1/2 recipe One-Bowl Chocolate cake (below) or other cake of choice
1/2 recipe Mocha Buttercream (below) or other frosting of choice
12 oz good quality semisweet baker's chocolate, chopped into small pieces

Assembly

  1. Dump the cake into the bowl with the frosting while the cake is still warm.  Mix with a wooden spoon until well combined.  Shape into 24 1" balls (about 1/8 cup of the mixture).  Place balls on plates lined with wax paper and cover with plastic wrap. Freeze for at least 4 hours or up to 24 hours. 
  2. Bring a pot of water, with a glass or metal bowl on top, to a simmer over low heat.  Make sure that the water doesn't touch the bottom of the bowl.  Add the chocolate and stir constantly until melted and smooth. Remove from heat, but keep the bowl over the warm water so that the chocolate stays melted.
  3. Dip the chilled cake spheres into the chocolate one at a time.  You can use a spoon or meat fork to do this.  Use a spoon to pour chocolate over the areas you missed.  Let excess chocolate drip off and place cake truffle onto a plate lined with wax paper. Decorate with sprinkles while the chocolate is melty.
  4. I suggest that you keep the cakes you aren't dipping in the freezer to keep them cold.
  5. Let chocolate on cakes harden before enjoying.

One-Bowl Chocolate Cake

makes 2 9" round cake layers
adapted from All Recipes

Ingredients

2 cups white sugar
1-3/4 cups all purpose flour
3/4 cup unsweetened cocoa powder
1-1/2 tsp baking powder
1-1/2 tsp baking soda
1 tsp salt
2 eggs
1 cup whole milk
1/2 cup vegetable or canola oil
2 tsp vanilla extract
1 cup boiling hot water or coffee (coffee brings out the chocolate flavor)

Directions

  1. Preheat oven to 350*F. Butter and flour two pans lined with wax or parchment paper.
  2. Whisk together the sugar, flour, cocoa, baking powder, baking soda, and salt.
  3. Add eggs, milk, oil, and vanilla. Beat with a mixer or by hand for 2 minutes.
  4. Slowly pour the hot water or coffee into the bowl in a thin stream while mixing the batter.
  5. Pour the batter evenly among pans and bake in preheated oven for 30-35 minutes, until a toothpick comes out clean.
  6. Let cake cool in pan for 10 minutes before removing. (If making cake truffles, you don't need to let it cool and you only need half the recipe).

Mocha Buttercream

makes about 2 cups, which frosts 12 cupcakes (halve if using to make mocha cake truffles)
adapted from Brown Eyed Baker

Ingredients

1 cup (2 sticks) unsalted butter, room temperature
2-1/2 cups powdered sugar (sifting optional)
1-1/2 tsp vanilla extract
1-1/2 tsp instant espresso powder

Directions

  1. Beat room temperature butter for a minute or two until it is creamy.
  2. Add the sugar bit by bit, beating until well combined after each addition.
  3. Scrape the sides of the bowl once all the sugar's added and whip for 2-3 minutes until fluffy.
  4. Add the vanilla and espresso and whip until combined.

Dinosaur Love Story *rawr*


Saturday, January 26, 2013

Confetti Cake from Scratch with Strawberry Buttercream

Cake before being decorated with fondant
     Back in the days before I'd ever had a home-made from-scratch birthday cake, my favorite cake was the Funfetti cake I helped my mom make from the box mix.  As my taste for box mix faded, however, one thing remained: my absolute love for sprinkles.

   I love sprinkles.  They come in every shape, size, color, and even flavor.  When I go to the grocery store and the bakery section sets out a couple of tubs of sprinkles for a dollar, I immediately grab them. (Here's something you may not know: the bakery section in your grocery store will probably sell you some sprinkles for cheap if you ask. Also, you can make your own sprinkles or buy really fun shapes like dinosaur sprinkles online.) For the cake, regular rainbow jimmies work best because they stay in the batter better and their colors spread into little bubbles of joy.

   Yes, I have a weakness for sprinkles.  So for my brother's birthday cake, I wanted to give him something fun and colorful: Funfetti cake.  Only instead of using mix, I made it from scratch, which is a million times better, trust me.  It also lacks all those bad artificial flavors and preservatives. I adapted the recipe from a standard vanilla cake recipe, and I added sprinkles and a bit of almond extract. It turned out delicious.

    This was my favorite part: dumping all the sprinkles in.  I used all the rainbow jimmies I had, and I was debating whether or not to use all of them. I ended up dumping them all in.
YES

Prepared pan
    I really like how the buttercream turned out.  Smooth, creamy, and with a very nice strawberry flavor.  It's like strawberry ice cream that doesn't melt.  Also, it goes perfectly with the cake.
Strawberry Buttercream
Frosting the Cake

   This post is all about the inside cake.  If you want to see the finished, decorated cake, check the next post.
Here's the recipe, enjoy!

Confetti Cake from Scratch

Makes one 8" 2 layer cake
adapted from Sweetapolita

Ingredients

5 large egg whites (150g), room temperature
1c whole milk (237 ml), room temperature
2 tsp pure vanilla extract
1/4 tsp almond extract
3 cups (345 g) cake flour, sifted
1 3/4 cups (350 g) sugar
1 tbs + 1 tsp baking powder
3/4 tsp salt
12 tablespoons (1 1/2 sticks, 170g) unsalted butter, cut into cubes and at room temperature
Rainbow Jimmies (I used 1 1/2 small bottles, 175g or 2.6oz.)

Directions

  1. Preheat the oven to 350*F and grease two 8" pans with butter and dust with flour.  Then add a circle of parchment paper to the bottom and butter and flour that.  Tap out excess flour.
  2. In a large bowl, add sifted flour, sugar, baking powder, and salt.  Whisk or mix with a mixer on low until well combined and fluffy.
  3. In a small bowl, mix egg whites with extracts and 1/4 cup of the milk.
  4. Add cubed butter and remaining 3/4 cups milk to the dry ingredients. Mix until moistened. With a mixer on medium speed, mix for about 1.5 minutes.
  5. Scraping the bowl, add the egg mixture in 3 batches. Mix for 20 seconds after each addition.
  6. Add sprinkles and mix until combined.
  7. Spread batter evenly among the pans. Bake in preheated oven for 25-35 minutes, until a toothpick comes out clean.  Then let cool on a wire rack 10-20 minutes.
  8. Loosen the sides of the cake from the pan with a spatula. Invert onto a wire rack and flip so it's top is facing up. Let cool completely, then wrap with plastic wrap and place in a refrigerator or freeze for 30 min before frosting.
  9. Trim the tops of the cake so the layers are even.  Frost with buttercream (recipe below). Decorate if desired.
  10. The cake is best eaten on the same day. (Since it's a butter cake, it can get dry if not stored properly.) Wrap with plastic wrap and keep at room temperature for up to 2 days, refrigerate for up to 5 days, or freeze up to 2 months.  Enjoy!

Strawberry Buttercream

makes enough to frost and fill one cake or frost 24 cupcakes

Ingredients

4 sticks butter (1lb), at room temperature
2 tsp vanilla extract
2/3 cups (7 oz) strawberry preserves 
pinch of salt
4 cups confectioners sugar, sifted

Directions

  1. Beat butter for 3 minutes until fluffy.
  2. Add strawberry preserves, vanilla, and pinch of salt and beat until well combined.
  3. Gradually add sugar and beat until fluffy and desired consistency is reached.